Thursday, October 28

Sale is the Magic Word!!! Cuisinart @ RueLaLa.com

If you haven't heard of RueLaLa yet, you have probably been living under a rock for about 2 years.  If you have heard of it, you're on my cool list.
RueLaLa is a great, members-only sample sale site that offers designer goods, trips, wine, homegoods, etc. at discounted prices.  

Today is my lucky day because...
CUISINART IS ON SALE!

All you have to do is sign up using your name, email, and create a password and you'll have access to some of the best cooking supplies ever--all at a discount!


Check out some of these that I'm only wishing my bank account had enough padding to afford it...


Cuisinart Green Gourmet
10pc Cookware Set
Was $450, @ RueLaLa $199
Cuisinart 16-Bottle Private Reserve
Wine Cellar
Was $365, @ RueLaLa $199
Cuisinart Classic Countertop Brick Oven
(perfect for pizzas!)
Was $199, @ RueLaLa $69
Cuisinart "PowerPrep Plus" 14-Cup
Food Processor
Was $299, @ RueLaLa $149
Cuisinart 3.5qt Hand & Stand Mixer
Was $185, @ RueLaLa $79
Cuisinart 10oz Single Serve Beverage Maker
Was $365, @ RueLaLa $199
Other highlights include:
---Cuisinart 12-Cup Grind & Brew 
Auto Coffeemaker $89
---Cuisinart Griddler & Gourmet 
Panini Press $59
---Cuisinart 4-Slice Toaster $49
---Cuisinart Stainless Steel Digital 
Food Scale $35
...AND MORE!!!!!!


Click HERE to check out RueLaLa.com before other smartypants people snatch them up!

Wednesday, October 27

If Cleaning Always Lead to Finding New Recipes, I'd Probably Be OCD... (Plus a Quick 5-min Salad)

Sara Foster (a local Durham girl!) + Cooking Light Best of 2010 + Quick & Fresh = recipe GOLDMINE
I've been on a cleaning rampage of the living room, my bedroom, the laundry room, my bathroom, the dining room, and most of all -- the kitchen!  I love having guests (especially when my parents come) because it gives me an excuse to give into my borderline OCD and clean like a mad woman!  Today alone I managed to go through all the "hide-away bags" in my room--you know those bags that you can throw everything in when you're cleaning in a hurry and zip it up, stash it in a corner, and your room looks great in time for company-- as well as tackle the kitchen and dining room.  Ask anyone who's been to my apartment and they'll tell you it's always incredibly clean... to them!  Apparently I'm great at having a spectacularly clean room that's actually quite dirty and cluttered with those hide-away bags.  So I've emptied all of those, put some summer clothes I won't need for awhile at the top of my closet (once I realized I could reach the top shelf with a step-stool I forgot we had -- it was like a whole new beginning for my closet).  

My OCD on display: each post-it labeled and then rediscovered all the recipes marked with orange post-its (hidden by some of the purples) and green ones!
But back to the kitchen: I started cleaning out the fridge and discovered we had 1/2 our tupperware supply in there, swept, wiped down the cabinets, stove and fridge, and cleaned the sink.  On top of our fridge, we have a basket with smaller cookbooks and torn-out recipes and cooking magazine of all sorts; we also keep all of our cookbooks lined up next to it.  The cookbooks are quite visible and I know which ones we have, but the magazines are anyone's guess.  In preparation for dinner with my parents on Friday night (which for some reason I offered to cook instead of my dad grilling a great steak or my mom making my favorite chicken), I went through our arsenal of recipes and founds some hidden gems!  I've found enough to keep me salivating at my computer for the next 2 weeks at least (and that doesn't include all of the recipes I tagged and dog-eared before tonight)!  To whet your palate too, I'll give you a quick preview of what I found and what's going to be shared soon...
A well-loved cookbook, as is anything from Ina Garten's The Barefoot Contessa
5 tempting starters
Roasted Vegetable Platter (think onions, red and green and orange peppers, butternut squash, asparagus)
Rosemary White Bean Soup (one of my favorite discoveries in Florence)
Arugala and Pear Salad with Toasated Walnuts (perhaps as a starter)
Parmesan Croutons
Cheddar Corn Chowder (perfect for the cool weather everywhere but North Carolina!)

5 delicious sides:
Roasted Fennel with Parmesan
Roasted Root Vegetables with Sorghum and Cider (as an accompaniment)
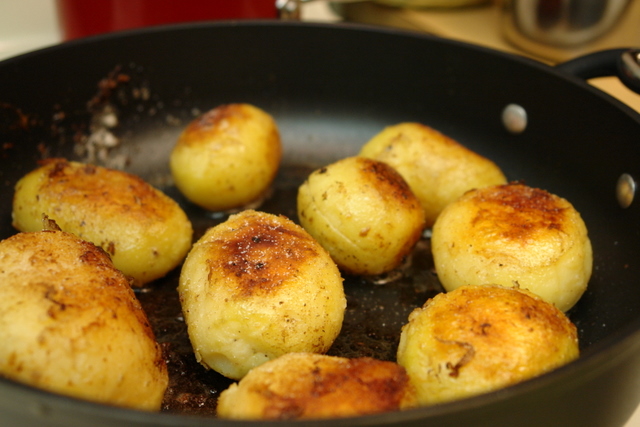
Spiced Potatoes and Green Beans
Parmesan Smashed Potatoes
Roasted Carrots (yummy... from one of my favorite chefs Ina Garten)

And how do I decide between 7 awesome main dishes:
Balsamic Chicken with Baby Spinach and Couscous
Steak Tacos with Cucumber-Avocado Salsa
Grilled Flank Steak Soft Tacos with Avocado-Lime Salsa (similar and equally as delicious sounding)
Spiced Pork Chops with Apple Chutney (sounds like a great fall dish)
Grilled Lemon Chicken
Hoisin and Bourbon-Glazed Pork Tenderloin
The Perfect Roast Chicken

I can hardly decide a main dish, let alone a starter and side for Friday's dinner... plus I haven't even begun to think about wine!  I guess it's a good dilemma to have, right?


     Well I won't share all of these delicious recipes in one swoop; isn't it always more fun to build up the suspense and drag out the gift-giving a little?  Since I just spent 2.5 hours procrastinating bigger cleaning tasks (definitely not a waste, but not what I had planned on spending those 2.5 hours doing), I'll share the quickest recipe I've ever made, loved, and re-discovered tonight... what I call:

My Quickie Salad with 
Goat Cheese & White Beans
 
Makes 4 servings (each about 2 cups of greens each)
Ingredients:
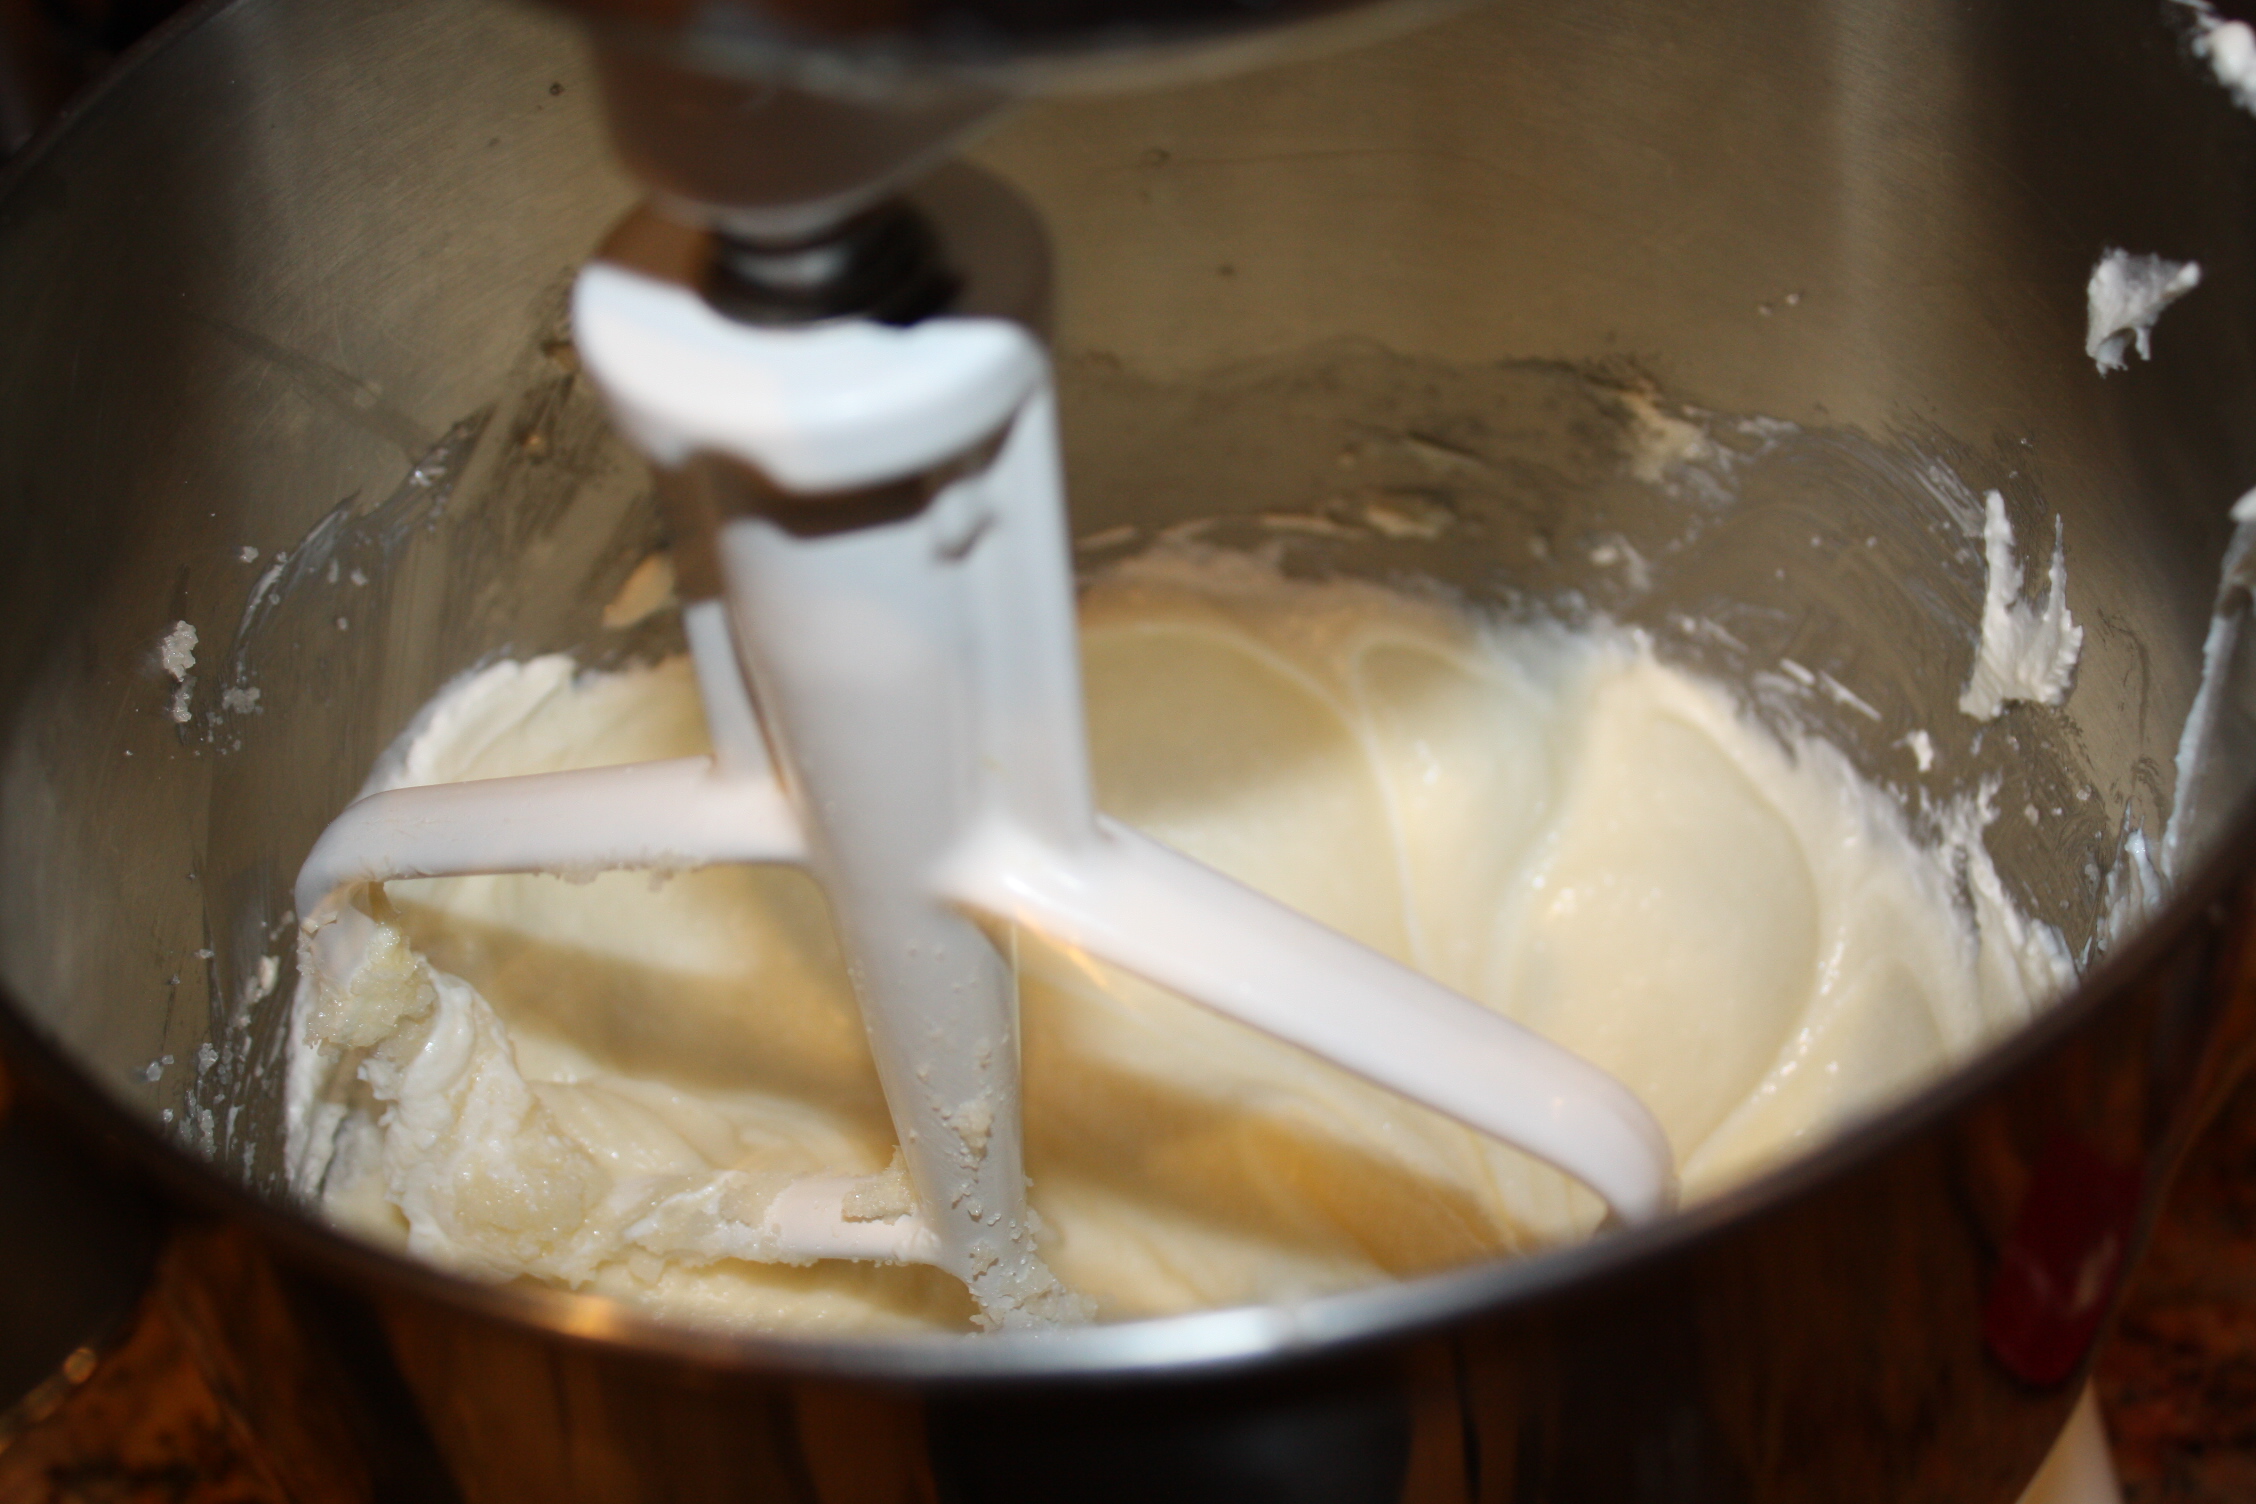
Nothing beats fresh balsamic
vinaigrette dressing!
Dressing:
3 tbsp olive oil
3 tbsp balsamic vinegar (normal people probably only need 2, but I like the dressing to have a little punch!)
1/2 tsp Dijon mustard (I like Grey Poupon the best)
Salt & freshly ground pepper to taste

Salad Mixings:
12 oz bag of mixed greens
1 1/2 cups cherry tomatoes (1 large plastic container)
1 cup canned cannellini beans (low sodium), drained & rinsed
4 oz fresh goat cheese (low fat), crumbled
2 tbsp fresh basil leaves, torn (I just do as many as I feel like doing that day... probably closer to 1/3 cup)
... you can also use 1-2 tsp dried basil if you really want, but fresh basil is MUCH BETTER!

My favorite fresh goat cheese,
Ile De France ($3.99 for 4oz) 
Preparation:
In a small bowl, whisk the oil, vinegar, and mustard together; season with salt and pepper. 

In a large bowl, drizzle the mixed dressing over the mixed greens.  I like to toss the greens with the dressing before adding the other goodies to evenly distribute the dressing without having all the goodies sink to the bottom.  

Divide the greens evenly among the 4 plates (or however many people you're serving).

Top each plate with about 7ish tomatoes, 1/4 cup beans, and 2+ tbsp of goat cheese.
Sprinkle each plate with fresh basil and EAT UP!!!

This recipe makes a PHENOMENAL tangy balsamic vinaigrette dressing.  I made it for my family the first time last Thanksgiving eve and got everyone hooked!  A and I make a version of this dressing (I like to add some fresh squeezed lemon juice) and use it with almost every single salad we make!  It's got a great kick, but you can always tone it down a bit by using a little less balsamic vinaigrette and less mustard.  You really can't mess up this dressing recipe - just taste as you go and you'll find your stride.  

This salad is super easy and honestly only takes 5 minutes!  
Perfect for a quick dinner night where you are more excited 
to watch Modern Family than cook!

...And all of the previously mentioned recipes will be shared over the next 2 weeks.  
I'll also attach links to the recipes on this post to make it easy!

Tuesday, October 26

Fall in North Carolina = Football & Halloween... Table Decorations for a Spooky-Good Dinner with My Parents!

Kenan Memorial Football Stadium, Home of The University of North Carolina at Chapel Hill Tar Heels
Fall in North Carolina means only one thing: COLLEGE FOOTBALL SEASON!  To me, college football season is BLAST, but with fall also comes Halloween and Halloween trumps all!  What could be better than a holiday based solely on costumes, scaring people, and candy?! There are officially 4 full days left to get ready for Halloween!  This Halloween, I'm going to try and act a little more grown up this year and not pout that I'm no longer allowed to go Trick-or-Treating.  Instead, I'm going to be hosting my parents in My First Apartment and My First Kitchen for a Halloween dinner.  One night I do want to go out to dinner tonight because between Raleigh, Durham, and Chapel Hill, there's a multitude of restaurants that are unique, fun, and most importantly--delicious!  I'm having trouble deciding between some of my favorites and others that I've heard are amazing... everything from sushi to Italian to steak to locally-raised organic... I'm all over the place!    


Anywhoooo... I do know that Saturday is a home game for the Carolina Tar Heels against William & Mary, so I might just have to take my parents tailgating!  Kenan Stadium is only 3.3 miles from my apartment... destiny perhaps?  If I'm going to fill one day with football, I know I need to balance it out and do a nice dinner that night.  So Friday night we'll go out to dinner and Saturday night we'll stay in to avoid the lingering football fanatics on Franklin St.  I want to at least acknowledge Halloween and do dinner at home, maybe lighting our carved Jack-o-Lanters from Humptober Fest and making the a-p-t a little more festive.  My dad doesn't always go for gimmicks and tchotchkes having to do with any holiday, and Halloween is no exception.  So how am I going to decorate the table in a subtle way that has a BIG impact?  Here are some decorations I've done before and some new ideas I'm toying with...


Black Glitter Pumpkins
Martha (Stewart, that is) never fails when it comes to making a table look festive, but never tacky.  Halloween's orange and black decor can get a little childish, so why not mix it up with some black and silver with hints of the others?  You can use real un-carved pumpkins or artificial ones, depending on your table.
How To:  Start by painting the pumpkin(s) black; cover 1/2 the pumpkin with tacky glue, then apply ultra-fine glitter using a paintbrush.  In a large bowl, mix black and silver glitter; hold the pumpkin over the bowl and spoon glitter over the glued surface.  Let dry for at least 1 hour, then tap/brush off any excess glitter.  Repeat gluing and glittering on un-coated surface until completely covered.
Add some store-bought spider webs and sprinkle some fake spiders amongst the finger foods for a fun, spooky table!


Bloody Candles
This one is an easy, subtle addition to any table decoration and requires practically no work!  If you have white candles, red candles, and candle sticks, you're ready for a sinister table setting complete with dripping blood candles!  
How To: Fill a small cup with sand and plant a white candle inside so it is standing upright.  Light a red candle and tip it over the white candle, allowing the wax to drip on the top and down the sides.  Be careful not to burn yourself!!!  Let the wax cool completely before placing them in their candle sticks.  For an added touch, you can drape some fake spider webs around the bases of the candles -- just be sure to not get the webs too close to the top where the flame will be!  A table of these bloody candles with the right food and dim lighting would make the table just festive enough without going overboard!


Pumpkin Flower Vase
If you're like me and get really excited at the beginning stages of pumpkin carving, it probably means you rarely follow through with the lavish spooky Jack-o-Lantern you set out to create.  So instead of breaking 8 of those plastic knives trying to carve a pumpkin, why not hollow it out and put beautiful flowers in there?
How To:  Pick a cylindrical-shaped plastic container to use as a vase inside the pumpkin; place it on top and use a pen to trace the outside rim with a little extra room.  Cut off the top of the pumpkin and scoop out all of the pumpkin goop with a spoon or pumpkin scoop.  Put the container inside the pumpkin to hold the flowers; pour water into the container and flower food if you have it.  Arrange a seasonal bouquet, such as: dahlias, cockscombs, rose hips, mini crab apples, and any other fall-colored beauties.

Root Vegetable Centerpiece
Pumpkins are the usual go-to Halloween decoration, but there are plenty of other edible fruits and vegetables than can make your table look festive.  There's no carving involved in this centerpiece (an added bonus) and how adorable do they look?How To:  Pick up some root vegetables at the grocery store (daikon radishes and turnips are good, but any root veggie will work); wash off any excess dirt.  Slice off the leafy top with a knife, enough to create a flat base for them to stand up on.  Use black-headed push-pins for eyes and use a paring knife to cut a half-moon into the veggie for the mouth.  Fill in the mouth with a black Sharpie to create depth.  Arrange several of the veggies in a shallow bowls, varying the heights, shapes, and faces.  Bonus - this works for the kid's table at Thanksgiving too!


White Pumpkin Moonlight Centerpiece
To K.I.S.S. (keep it simple silly), create a monochromatic table with variations of the same color in different shades.  White pumpkins already have an almost magical look to them, so why not do some magic tricks on the boring-old table? 
How To:  Pick big, round, "Lumina" pumpkins and wash the outside thoroughly.  Place them directly on the serving stands and platters, or in a row down the table.  Break up the monotony of a pumpkin patch by interspersing natural candles.  You can also pick up gray, ashen apple cucumbers and mini pumpkins if you want to add some seasonal colors to the table -- just try to not get the brightest of the supplemental decorations.


Fall Leaves & Cranberries Too
We have 2 fall favorites at our house around Halloween and Thanksgiving, and they happen to be the easiest one of all.  Grab some of the brightest fall leaves that are scattered about your yard (if you live anywhere where it's actually feeling like fall and not 82 degrees today... ahemm Chapel Hill) an sprinkle them on the table top.  Pick the cleaner ones and make sure to pick them the day you want to use them so you don't have dirty brown leaves crinkling on your nice table cloth.  And a favorite of my mom's -- use fresh cranberries in glass jar to cover the stems of a bouquet of flowers or to rest a candle in!  Festive in a few!!!


Happy Fall, Happy Football and Happy Almost Halloween!


...Go Tar Heels!

Monday, October 25

Update to Mac Monday: Fried Mashed Potato Balls

It's Chef Nick!!!!!!!!!!!!!!

Hooray for Mac Monday: Fried Mashed Potato Balls!!! ...Is It Thanksgiving Yet?!?!


     I went to sleep away camp for the first time in the summer of 1998 when I was in 2nd grade.  Camp O-AT-KA is a traditional all-boys camp, founded in 1906 on the shores of Lake Sebago in Maine.  I wish I could be a camper forever so for the past 5 summers I have worked at the same camp; now I'm a counselor and trying to still feel like a camper even though I'm almost 21 and in college.  

     The camp food is always the best on the opening Sunday of each summer session (because we are trying to impress the parents who are dropping their kids off at camp).  For the past 2 summers, the head chef, Nicolas Munua, has made the most amazing side dish: FRIED MASHED POTATO BALLS!!!  I know it sounds crazy, but they were the most amazing, delicious thing I ate all summer (granted it is camp food.  I started to pester Nick to find out just how he made them.


     He FINALLY told me the recipe at the end of this past summer.  As soon as he started telling me the ingredients and method, I started thinking about all the excuses I could come up with to make this recipe again.  Suddenly, I realized that this new spin on mashed potatoes would be perfect for an updated Thanksgiving Dinner.  


     There are just about 4-weeks until the best holiday of the year: THANKSGIVING!  So in these few excruciatingly long weeks before I get to spend Thanksgiving break with my family in New York, I thought it was only appropriate to whet your appetite and share the recipe.  You better start practicing this recipe before the family arrives for Thanksgiving!!!

The Camp O-AT-KA Shield


Ingredients:
2 cups of mashed potatoes
1/2 cup of plain bread crumbs
1/2 cup chopped scallions
1 egg (lightly beaten)
olive oil

Preparation:
     After making your mashed potatoes put them into the freezer for about 1 or 2 hours, until they firm up.  This helps to keep the potatoes together in the frying process.
     Once the potatoes are cooled, remove them from the freezer and let them warm up for about 30 minutes.
     In a large mixing bowl, mix together the potatoes, scallions and egg. 
     Then start rolling the mashed potatoes into little balls.  
     Now spread the bread crumbs out onto a plate or a cookie sheet (preferably with a lip so the bread crumbs do not spill over the edge).  Roll the mashed potato balls in the bread crumbs until there is an even coating. 
     In a medium skillet over medium heat, add about an inch of oil.  (If you have a frying thermometer you are looking for a temperature of about 375 degrees.)  Once the oil is hot, start to fry the balls in batches.  
Each batch should take about 2-3 minutes.  You will know when each batch is done when the breadcrumb coating has a nice golden brown color to it. 

I hope you enjoy this recipe.  It is simple and easy way to bring something new to your thanksgiving tradition.  Remember cook what you love, love what you eat!

Thursday, October 21

A Dream is a Wish Your Heart Makes... My Dream Kitchen 101: Stocked & Organized

Look smart, Play smart (my soccer team, 2003)
My club soccer teammates and I (circa 2002)
showing off our cleats (the Patriots '87s)
I've been an athlete all of my life and every day before a practice or a game, my dad would reiterate "Kate, remember... look sharp, play sharp."  To my dad, that meant wearing my shinguards under my socks (it was way cooler to wear them over so the didn't irritate your 7-year-old baby skin), tucking in my shirt for the beginning of the game and leaving it tucked in all game, having a proper curve to my baseball hat (no V's or flat brims), and cleaning my cleats after every game (and that was only after I proved to him that I really wanted to play soccer and stick with it, therefore allowing me to graduate from sneakers to actual cleats).  It goes without saying that I thought, "look sharp, play sharp" was the dumbest expression when I was little, but that was before I understood it.  Now I realize it applies to almost every facet of life, and it most certainly applies to being in the kitchen.  If you have the right tools, chances are your food will come out better and you'll be a better cook.  Sure, the g ear you have isn't everything and isn't going to turn a terrible chef into the next Food Network star, but the right gear will get you well on your way!


The absolute best investment you can make in your kitchen is a good set of knives.  Think about how often you use knives in the kitchen--they're the only tool that I can honestly say I use every single time I'm in the kitchen!  They're going to be expensive, but if you like cooking and want to cook well, they're well worth it.  A good knife set is on almost every bridal registry list because of the price tag and they will last a lifetime if you take care of them.  My parents still have the original knife set they got as a wedding gift in 1977 and have simply supplemented a few extras over the years!  NEVER put your knives in the dishwasher--always hand wash them and dry them immediately.  Taking care of your quality knives will insure they last forever!  There are ranges of knife sets, from a great beginner set to a set worth of an Iron Chef; find what knives you use most and get a starter set with those plus a few extras, you can always build up your collection.
A great starter set; Buy at Amazon.com, $119 (down from $269)
A solid, quality, nearly complete set:
 Buy at Williams-Sonoma, $599.95
And I've secretly always wanted a cool, metallic knife rack so I could just grab what I needed.  I mean how bad ass do they look?!
Buy at Williams-Sonoma, $39.95
When it comes to meat, wood cutting boards are king.  Carving boards often have some type of "gripper" in the middle to keep the meat in place and a trough around the outside to keep the juices off your counter-top and on the cutting board.  A good carving board can be expensive, but you should think of it as an investment in your knives and your kitchen; buy a reversible one and at least you can justify your the price tag!
Buy at Williams-Sonoma, $105
Wood cutting boards are great, but harder to keep clean and sanitary than plastic ones.  You can go through cutting boards fairly quickly, so an investment isn't as important.  I LOVE the plain Ikea plastic cutting boards that come in a variety of sizes, but I don't live as close to Ikea anymore, making it harder to get replacements.  Sometimes the internet is a godsend, because Overstock.com has them in value packs, which are a no brainer when buying cutting boards (but you can snag them almost anywhere).
But at Amazon.com, $11.88
Mixing bowls are the number 1 thing I would recommend having multiples of in your kitchen artillery.  You'll use them for EVERYTHING and manage to constantly be washing them if you cook often enough.  I like to have multiple sizes and several of each size to make cooking, baking, and mixing as easy as possible.  Williams-Sonoma can be overpriced for many things, but their mixing bowls are TO DIE FOR!  Glass bowls are easy to keep clean and sanitary and look great in the kitchen.  And surprisingly, this set is affordable!.
Buy at Williams-Sonoma, $38
Stainless steel mixing bowls are great to have in the kitchen too.  They're incredibly durable and will last you a lifetime of cooking if you take decent care of them.  I often find that mixing bowls can be slippery when I'm cooking, and this great set of bowls are big, deep, and even have a handle to make gripping a little easier.  They're on the pricey side, but again, they're an investment in your kitchen.  
Buy at Williams-Sonoma, $129.95
Another great, and more colorful, option are plastic bowls.  The nesting kind make storage a cinch, plus you'll smile every time you see all the brilliant colors.  Plus, this set comes with a colander and measuring cups too!
Buy at Chef's Resource, $49.95
If you like cheese as much as I do, you MUST have a cheese grater that's easy to use.  The best one I've ever found or used is the newest version of the kind I grew up with, a Zyliss.  They're nifty enough to put on the table when serving pasta, but durable enough for the kitchen and can survive any dishwasher.  It's so much easier than shredding your knuckles to death and much cheaper than buying shredded cheese at the grocery store.
But at Amazon.com, $12.09-$14.99
A good food processor is a kitchen tool that I never appreciated until I really began cooking and experimenting with new recipes.  There are tons of recipes that surprisingly recommend using a food processor -- guacamole, hummus, slicing cucumbers, and even pizza dough.  And how sleek is this Cuisinart model?
Buy at Amazon.com, $199
Measuring cups and spoons are a no-brainer gadget every kitchen needs.  I like the flat spoons and cups in case I need to rest them on the counter top, I don't have to worry about them toppling-over.  A diverse set is great, but make sure you have the basics: 1/4, 1/3, 1/2, 1 cup should be the standard measuring cup sizes and 1/4 tsp, 1/2 tsp, 1 tsp, 1 tbsp should be the bare minimum for measuring spoons.
Buy at Chef's Resource, $33.95

Narrow spoons are great for fitting in spice jars;
Buy at
Chef's Resource, $12.95
I have never had good luck with blenders I've bought.  They all say they're "great for smoothies" or "eats right through an apple for great juicing."  Well I've never had either achievement.  But Black & Decker not only makes tough outdoor electric tools, but a bad-ass blender too.  This has the best ratings for shaving ice (GREAT for margaritas), makes great smoothies (went right through orange and banana peels during a test), and looks fabulous doing it all!
Buy at Black & Decker, $29
Hands down, this is the best thing you'll ever buy if you're a baker: a Silpat nonstick baking mat.  It's the easiest way to keep your sweets from burning on the bottom and sticking to the baking sheet.  It's one of those inventions you wonder why no one thought of it sooner.  It is simply a silicone mat that feels a little greasy, sits right on top of your baking sheet, and works magical wonders.  Try it and you'll never use anything else again!
Buy at Bed, Bath & Beyond or Macy's, $19.99
And finally, my ultimate dream kitchen gadget.  After using my hand electric mixer all weekend to make cupcakes and pie crust, I have never wanted a REAL electric mixer so badly.  And then KitchenAid has the nerve to come out with this gorgeous cornflower blue mixer that just screams to be used?
Buy at Bed, Bath & Beyond, $299
Ultimately, having the necessary (and awesome) tools in your kitchen to mix, stir, peel, cut, blend, and cook practically anything is great.  But knowing what you have in your kitchen is just as useful.  An organized kitchen is a chef's best-kept secret -- knowing what you have and where is essential for a smooth-running kitchen.  Organization is my best friend (an almost obsessive bff), but here are some simple organization tips and tricks for maximizing your kitchen's potential.

Wednesday, October 20

The Best Cookies You Won't Be Able to Stop Talking About... Alfajores :)

Martha Stewart's perfect-looking cookies, 
mine will not look like these!
These cookies may be hard to pronounce, but they're so delicious you'll hardly be able to open your mouth to speak anyway!  My mom was the first one to introduce me to these cookies.  She gets them every time she and her business partner are at the editing company Red Car in NYC; the cookies are South American cookies, but they order them from Aroma in SOHO.  My mom said they're so good that they all can't stop talking about them, so they looked up the recipe.  Thankfully, I'm the benefactor in this situation and stumbled upon a potentially delicious recipe without having to do any of the hard work to find it!
The Outer Banks beach trip is
finally here; we're celebrating several things this weekend: a birthday, a weekend, and my new job... so what better way to celebrate than with delicious cookies?  I'm also baking an apple pie tonight for my coworker and friend M because he won a bet we had.  I bet that he couldn't go 2 full weeks without eating Chipotle, and instead of eating out for lunch every day, he had to bring his lunch.  Apparently I didn't challenge him enough because he passed with flying colors and now I owe him a pie of his choice, which is apple.  Since I'm baking anyway, I wanted to do a trial run tonight to make sure they're beach-worthy, and boy are they EVER!


Alfajores
Makes about 30 cookies; 15 minutes prep time; 10-14 minutes baking time.
Ingredients:
This is what I normally do to my 
jar of Nutella... mmmmmmmm
3 cups all-purpose flour
2 tsp baking powder
1 tsp salt
3/4 cup unsalted butter, room temperature (about 1.5 sticks)
1 1/4 cups granulated sugar
2 large eggs, room temperature
3/4 cup milk
1/4 cup freshly squeezed orange juice
1 tsp pure vanilla extract
Dulce de Leche (store bought) or jam**
Confectioners' sugar (for serving)
** For half of the cookies, I used unsweetened raspberry preserves for a punch of tart flavor--delicious!!  For the other half, I thought I was being super creative and used my favorite thing ever... NUTELLA!!!  Turns out I wasn't that original, but it was HEAVEN IN MY MOUTH!**


Preparation:
Preheat the oven to 350 degrees; line 2 baking sheets with parchment paper (or your Silpat if you have it) and set aside.
In a medium bowl, whisk flour, baking powder, and salt -- set aside.
Use an electric mixer with a paddle attachment*** to cream together butter and sugar on medium speed until it's light and fluffy (about 1-2 minutes).
Add eggs one at a time and continue mixing for about 1 minute (until well combined).
Add flour mixture in batches, mixing until well combined before adding more.
Add milk, fresh orange juice, and vanilla; continue mixing until a dough forms (about 1-2 minutes).
Use a tablespoon or small ice cream scoop to drop dough onto the prepared baking sheets (about 2 inches apart).
Transfer to oven and bake until golden, 12-14 minutes.  Make sure to rotate the baking sheets halfway through baking time.
Transfer the cookies to a wire rack until completely cool.
When the cookies have cooled completely, spread the bottoms of half the cookies with the dulce de leche (or jam).  Sandwich together the halves with the remaining cookies.


Electric mixer w/ paddle attachment
***You don't really need a paddle attachment, but it's best if you have one.  Otherwise, an electric mixer will do, just be wary of over-mixing.  If you're really unprepared and don't have a working electric mixer, you can use a wooden spoon--it'll just get tough to mix at a certain point. I did it this time with a hand-held electric mixer and it was fine, just make sure to put it on low speed.***  


You can store them in an airtight container for up to 2 days!  Just before you want to serve them, for a "wowing" effect, sprinkle lightly with confectioners' sugar.


Other ideas for Alfajores:
1. Chocolate dough;  2. Roll in coconut;  3. Raspberry preserves;  
4. Pistachio Butter;  5. and the way I tried, Nutella!
Make a chocolate dough & use dulce de leche!
Use dulce de leche in the center & roll in coconut! 
Use a tart raspberry preserve in the middle!
Use pistachios and pistachio butter in the middle! 
(buy at Trader Joe's, Fresh Market, or Whole Foods)

...pictures of my Alfajores coming right up (after I get my camera charged and cooperating with my Mac)!